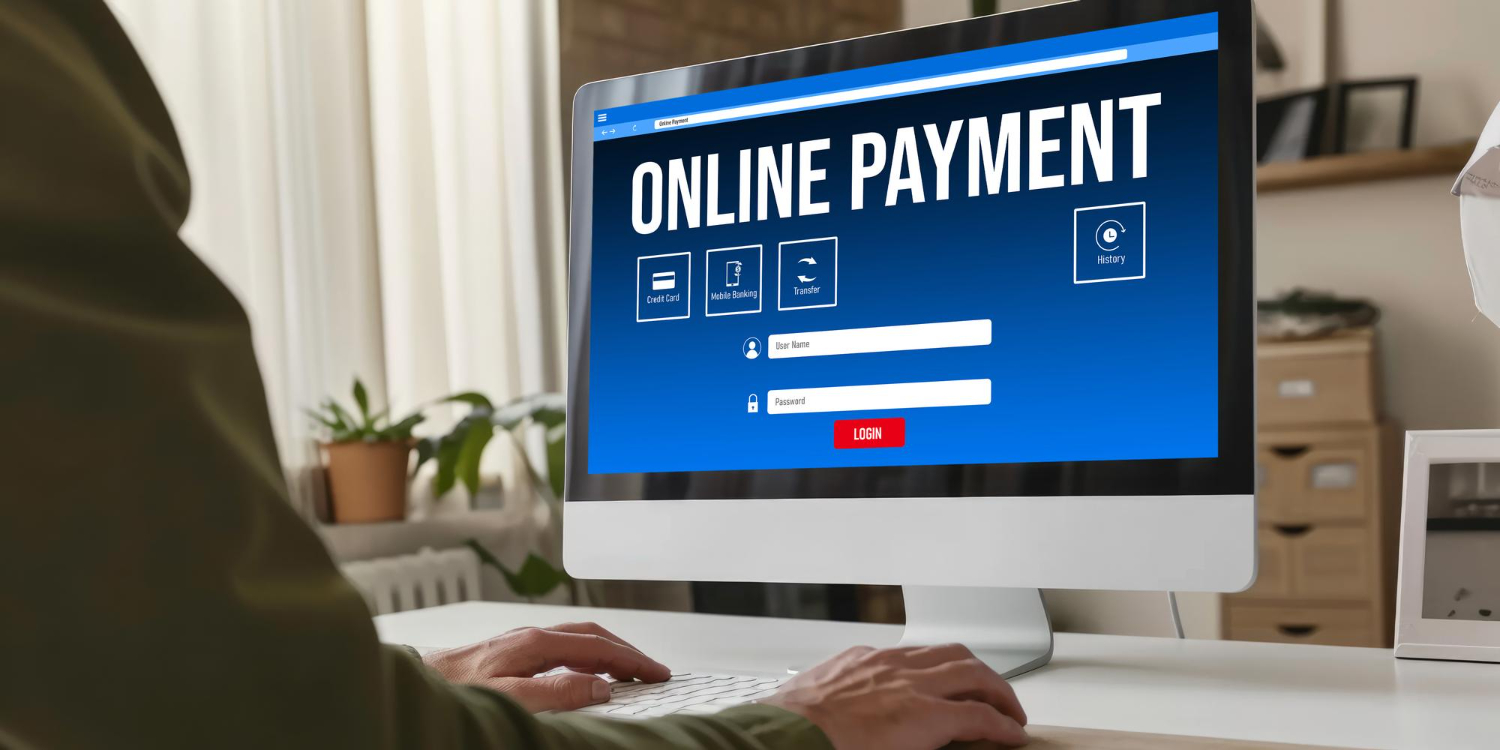
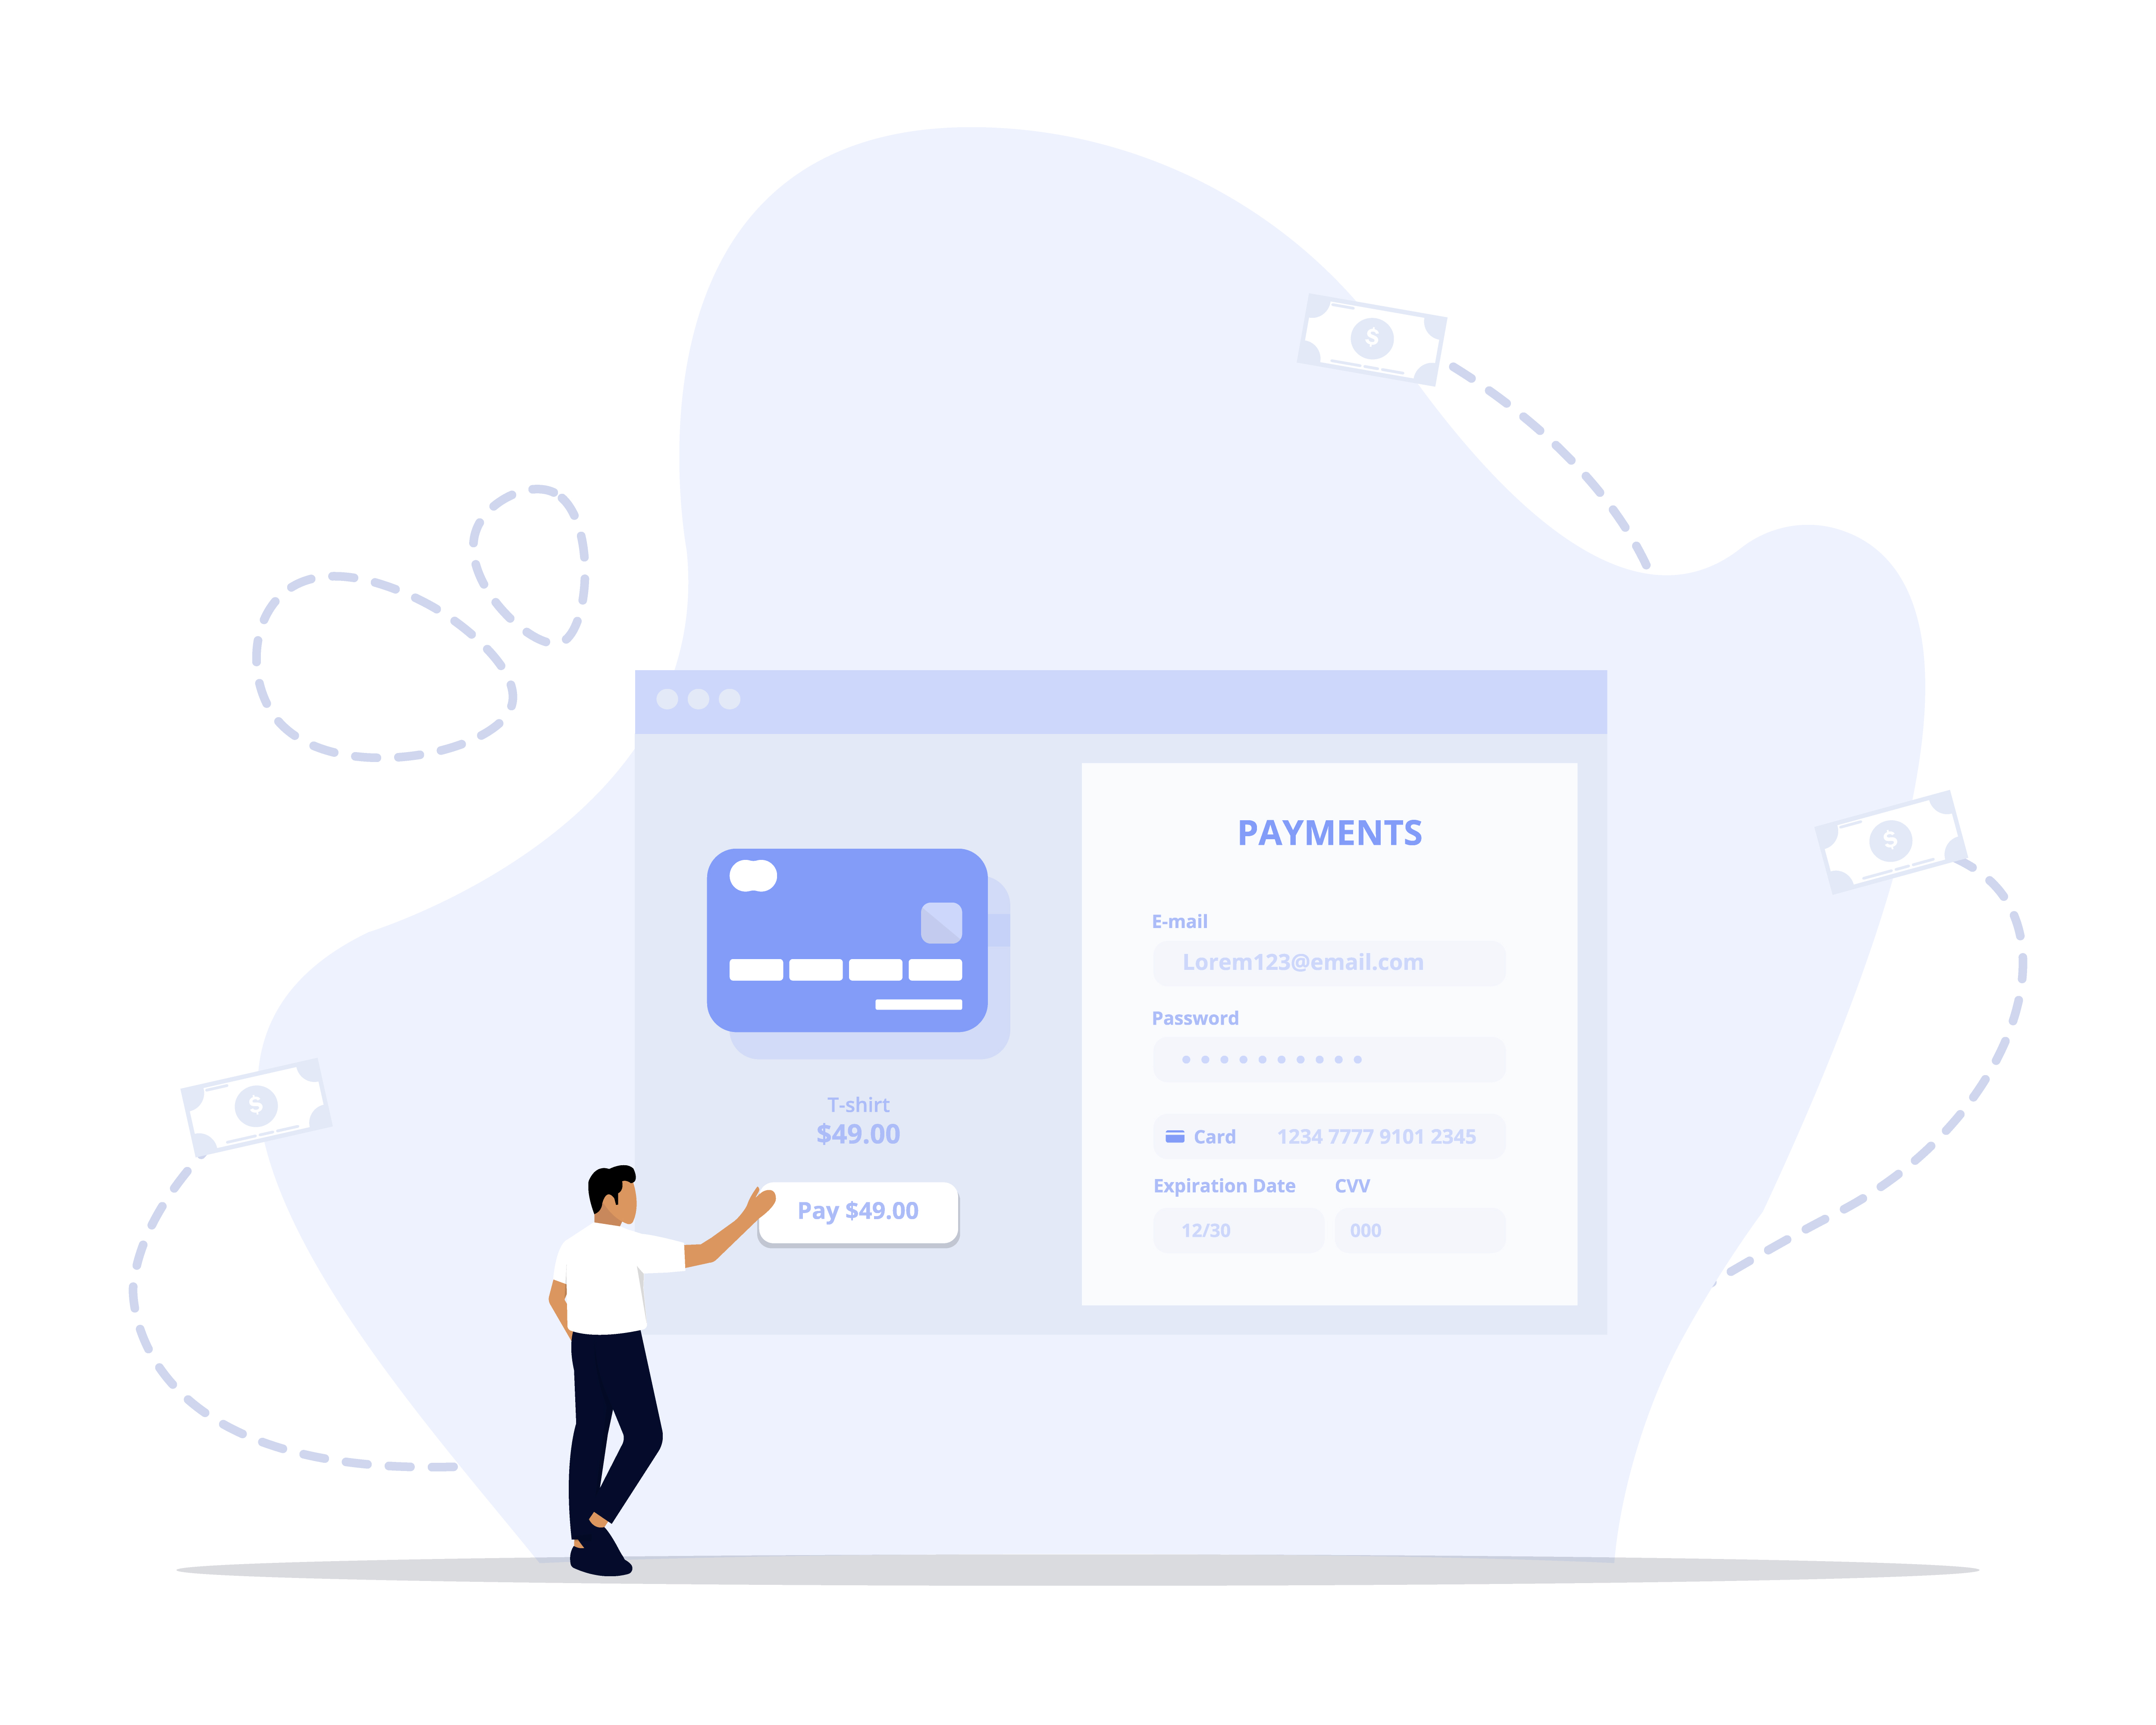
A payment system is the part of your website that lets customers pay you. It works like a bridge between the shopper, your site, and their bank. When someone clicks “Buy,” the website payment processing tool collects the money and sends it to your account.
If you’re setting up payment on a website, this tool is a must. It takes care of credit card details, keeps the transaction safe, and gives your customers a smooth way to complete their order. Without it, even the best products may go unsold. People need to feel that their money is handled safely. A working payment system builds trust, and trust leads to more sales.

Types of Payment Systems
When you run an online shop, having a way to collect money is just as important as the products you offer. An online payment system does that job for you. It lets customers pay with credit cards, digital wallets, or even bank transfers. And when done right, it makes the buying process feel simple and quick.
You’ve probably heard of some well-known systems already—PayPal, Stripe, Square, Apple Pay, and others. They all do similar things: move money from your buyer to your bank. But choosing the right one takes a bit of thought. Not every system is right for every business. You want the one that fits your size, your goals, and your customers' habits.
So, how do you pick the best online payment system for small business needs:
- Know your customers. Think about who buys from you. Are they used to card payments? Do they prefer PayPal? If your buyers are local, bank transfers might be fine. If you’re selling across countries, you’ll need more options.
- Look at the fees. Some payment tools take a small percentage from each sale. Others have fixed monthly fees. Check the numbers and figure out what works best for your profit margin.
- Check the setup process. You don’t want to get stuck trying to install something complicated. Choose a system that is easy to connect with your site or works with the platform you already use.
- Think about mobile users. More and more people shop from their phones. Your online payment system must work well on mobile. If it doesn’t, you might lose sales right at the final step.
- Look for support and updates. Things break. Payments fail. You want to use a system that has help available when you need it. It’s even better if they update their tool regularly to stay safe and reliable.
- Match it to your store size. The best online payment system for small businesses is not always the biggest name. Look for tools made for small sellers. They’re often cheaper, simpler, and still do everything you need.
- Keep it simple for the buyer. Don’t ask for too much information at checkout. Fewer steps mean more completed sales.
- Check security. Even if your store is small, people expect their payment details to stay safe. Choose a system that protects their information.
Picking the right online payment system takes time, but it’s worth it. The right one helps people buy from you without problems. And that means more orders and fewer abandoned carts. If you’re just starting out, test a few options. See what feels easiest for you and your customers. Over time, you’ll figure out what works best. And as your store grows, you can always switch to something bigger. No matter what, the goal is simple—make it easy for people to pay. The rest will follow.

How to Create a Website with Online Payment
Building an online store can feel overwhelming at first. There’s the design, the payments, the setup—it’s a lot to think about. But once you take that first step, it starts to make sense. So, how to add online payment to my website?
Choose a Website Builder That Fits Your Needs
The first thing you need to create a website with payment options is a platform where you can build your website. This tool is often called a website builder. It helps you design your site, even if you don’t know how to code. Some of the most common website builders are Shopify, Wix, Squarespace, and WordPress with WooCommerce.
Each builder has their own style. For example, Shopify is focused on selling products, so everything is built around that goal. Wix gives you more creative control and works well if you want to sell a few items and also write blogs or show off your work. WordPress with WooCommerce is more flexible, but it takes more time to learn.
If you're starting from scratch, pick the one that looks easiest to use. Visit their websites—Shopify, Wix, or Squarespace—and check their free templates and features.
Buy a Domain Name and Hosting Plan
Your website needs a name—this is your domain. For example, mystore.com. It also needs hosting, which is like the home where your website lives. Some builders, like Shopify or Wix, give you both. But if you’re using WordPress, you’ll need to buy them separately. You can get domains from:
Hosting providers:
If your builder gives you both, skip this step. But if not, set up hosting and connect your domain to your site builder.
Design the Website and Add Your Products
Now it’s time to build how your website payment looks. Most website builders have templates you can start with. You choose a layout, pick colors, upload a logo, and write some text about your products or services. Keep things clear. People want to see what they’re buying, how much it costs, and where to click if they want to order. You don’t need to make it fancy. Even a clean, basic design works well when the pictures and descriptions are clear.
After setting up your homepage, go ahead and add your products. You’ll write short descriptions, upload photos, set prices, and write shipping details. Most website builders will have a section just for managing products, so everything stays organized.
Connect a Payment Processor to Your Website
This is the step where you actually make it possible to accept payments. If you’ve been asking how to set up a payment system on my website, this is the part you’ve been looking for.
A payment processor is the tool that takes money from your customer and puts it into your bank account. Services like Stripe, PayPal, Square, and others help you do this. If you use Shopify or Wix, the payment options are already built in, and you can activate them with just a few clicks.
You’ll need to create an account on the payment platform, fill in your business and banking information, and connect it to your site. Once this is done, the system is ready to accept card payments, digital wallets, or even bank transfers, depending on the service.
If you're building a custom store or need special features for your checkout, you might want to look into dedicated development. This means hiring someone (or a team) to build the payment part just the way you want it, without relying only on built-in tools.
Add the Payment Features to Product Pages
Once your payment account is set up, you’ll need to make sure people can use it on your site. That means placing “Buy Now” or “Add to Cart” buttons under each product. On builders like Shopify or Squarespace, these buttons appear automatically when you add a product. You can move them around on the page if needed.
In case you’re using a more basic site or want something quick, PayPal also lets you create simple payment buttons at paypal.com/buttons. You fill in your product name and price, then copy a bit of code to place on your site. When someone clicks the button, they’ll be taken to a PayPal page to pay.

Test the Payment System Before Launch
Before you tell anyone your website is live, make sure everything works. Go to your site like a normal visitor would. Try to order something. Enter your name, pick a product, and go through the checkout process. If your online payment system offers test cards or test mode—like Stripe does here—use that.
Check if you get a receipt, if the payment goes through, and if the order shows up in your dashboard. This part might seem boring, but it’s important. If buyers hit a problem while paying, they might give up. So catch issues early, before you launch.
Some platforms will also let you refund the test order easily, so you won’t lose anything in the process.
Publish Your Website and Start Sharing It
When everything looks good and the payments are working, click publish. Your website is now live and ready for business. This is the last step to create a website with payment options, and probably the most exciting.
Now comes the fun part—telling people about it. Post the link on your social media pages. Add it to your Instagram bio. Message friends. Put it in your email signature.
And don’t stop there. Keep your site updated. Add new products. Check your orders. And if something breaks, go back into your builder and fix it. Most platforms also have customer support if you get stuck.
Once you've gone through all these steps, you're no longer asking how to set up a payment system on my website—you’ve already done it. You now have a place to sell, a way to take payments, and a shop that’s open 24/7. As your store grows, you might want to upgrade its design or add more features. That’s where web development services can help. A developer can clean up your code, improve loading speed, or make your store look more professional, without you having to figure it all out yourself.
Benefits and Risks of Accepting Payments on a Website
Selling online opens the door to more customers. But it also brings new things to manage. When you set up a payment system for your website, you're making it easier for people to buy from you without picking up the phone or meeting in person. That’s a big step for any business. Still, like most things, there are good sides and some not-so-good ones. Before jumping in, it helps to look at both.
Pros of Accepting Payments Online:
- You can sell anytime, even while you sleep. Once set up, your online payment options for websites are always working in the background.
- It’s easier for customers. They don’t need to leave their house or talk to anyone. Just a few clicks and they’re done.
- You get paid faster. No waiting for checks or in-person visits. Most systems send the money to your account within days.
- It builds trust. When you receive payments online, people expect to see secure checkout pages. Having that shows you're serious.
- You can reach more people. With the internet, you're not limited to your town or city.
- It keeps things simple. Many systems also track your sales and send reports, so you don’t have to do the math.

Cons of Accepting Payments Online:
- There are fees. Most payment systems for website tools take a small cut of every sale. Over time, this adds up.
- There’s always a risk of fraud. While rare, some people may try to use stolen cards or trick the system.
- Tech problems happen. Your payment tool might crash or slow down, and that could stop someone from buying.
- You need to keep customer info safe. If your site isn’t protected, people might not trust it.
- Refunds and chargebacks can be messy. If someone changes their mind or claims they didn’t buy, you might have to give the money back.
- It takes time to learn. Setting things up the right way needs attention, especially the first time.
Accepting payments online is a smart move for most sellers. The benefits usually outweigh the risks. But it’s not something to rush. Pick the right tool, take your time with setup, and double-check that everything works. With a solid payment system for your website, you're making your store more open, more active, and ready to grow—one sale at a time.

How to accept payments from customers on a website
Accepting payment on a website isn’t just about adding a button. It’s about making it easy for people to trust you with their money. If they land on your page, see something they want, and can’t figure out how to pay in a few seconds, they’ll probably close the tab. So the payment part needs to work, and it needs to feel natural. You start with a builder—Shopify, Wix, WordPress, whatever you’re using. Then you connect a payment tool. Stripe, PayPal, maybe Square. Some people already have accounts with those, so using them makes checkout faster.
Setting it up the first time might take a minute. You’ll enter your business info, link your bank, and maybe wait a day or two for approval. But after that, the system runs on its own. You just need to keep an eye on it now and then. Test it. Pretend you’re the customer. See what feels weird or slow. Fix that. That’s part of the job.
When you add payment to your website, think of it as part of the customer experience. It’s not just the product they’re buying—it’s the whole feeling of the store. A slow or clunky checkout will hurt your sales more than you think.
There’s no perfect way to set this up. You’ll probably tweak things as you go. But once people can buy from you, you’re not just showing them a product—you’re giving them a way to say yes, right now. That’s the real shift.
