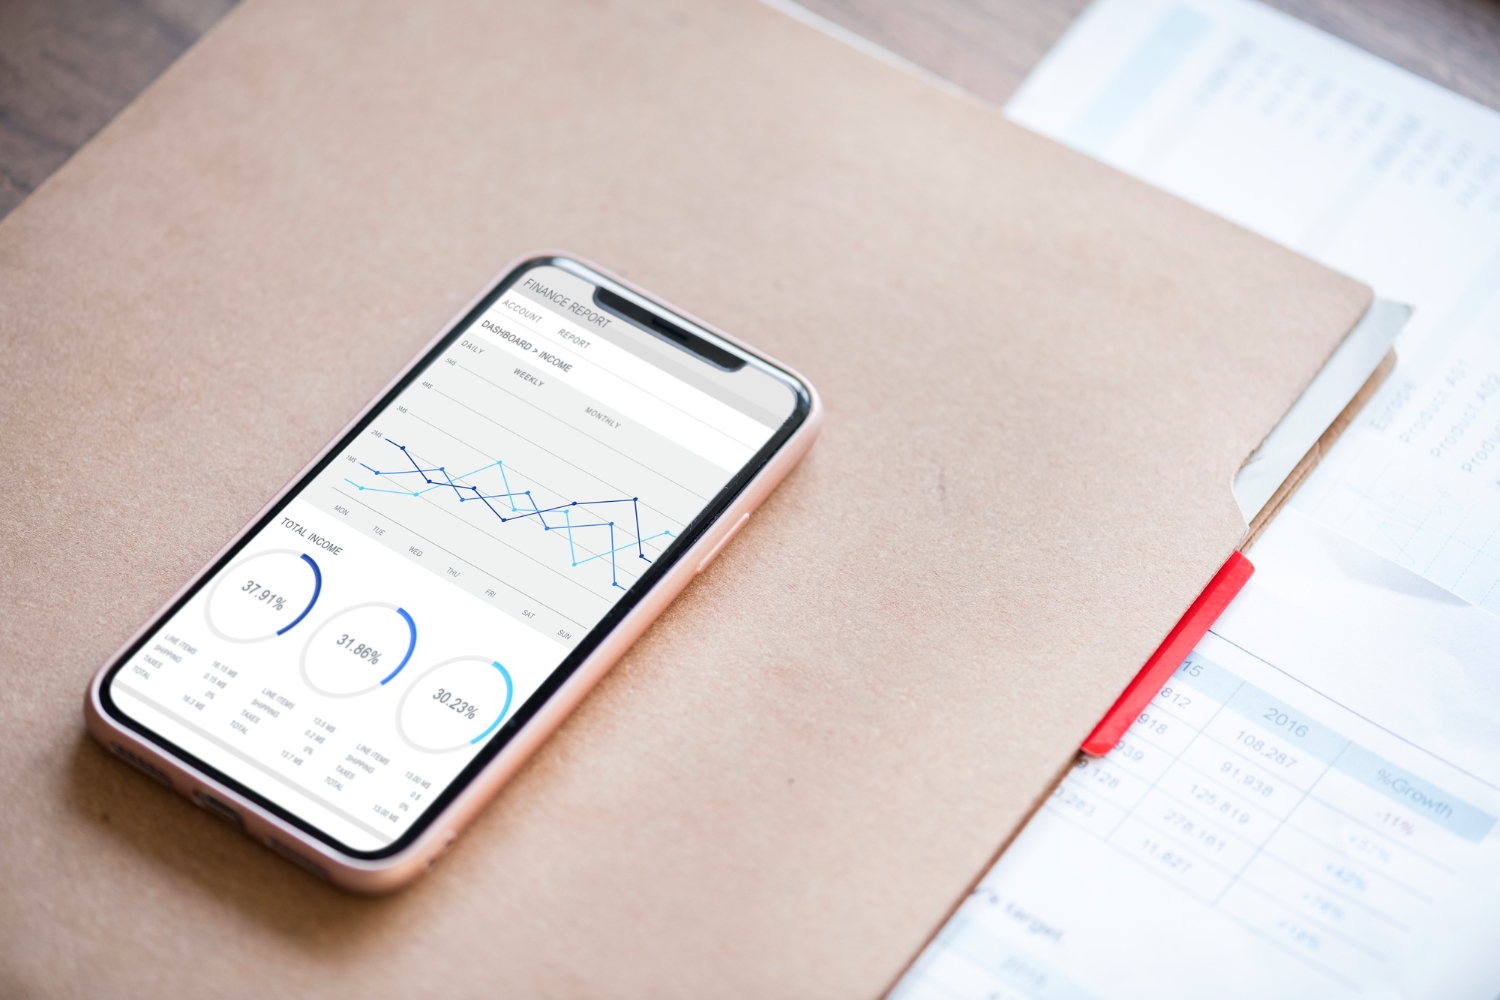
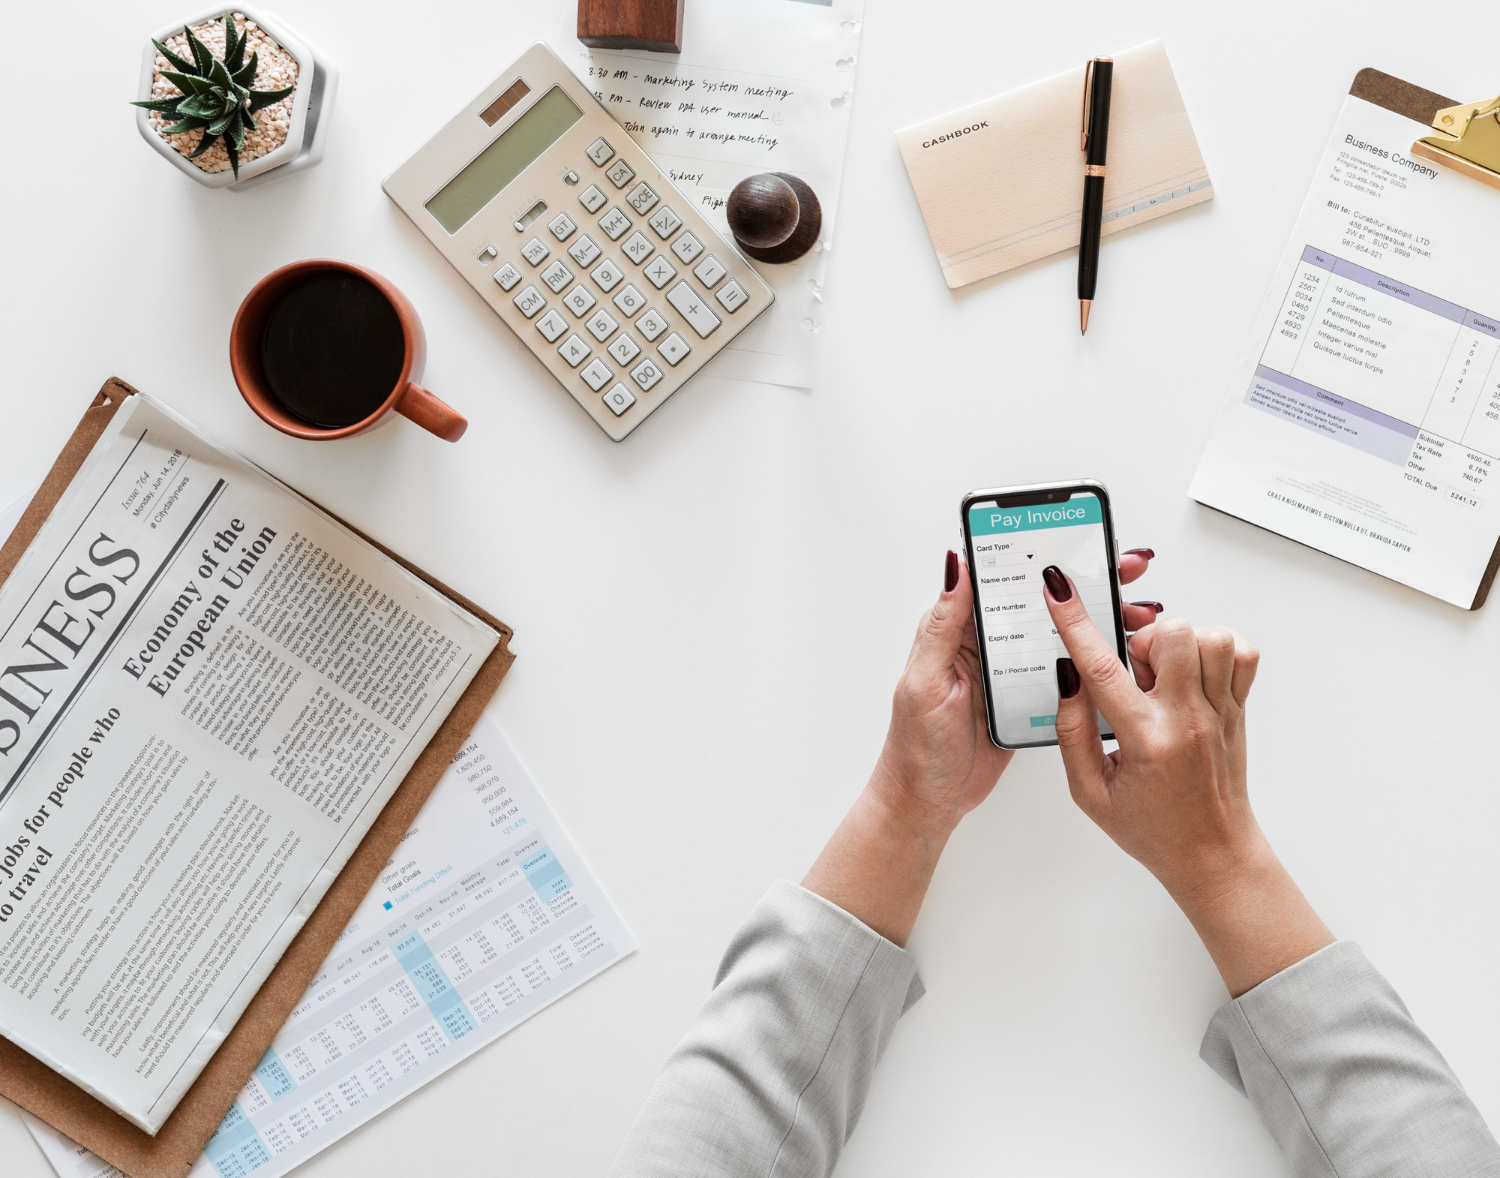
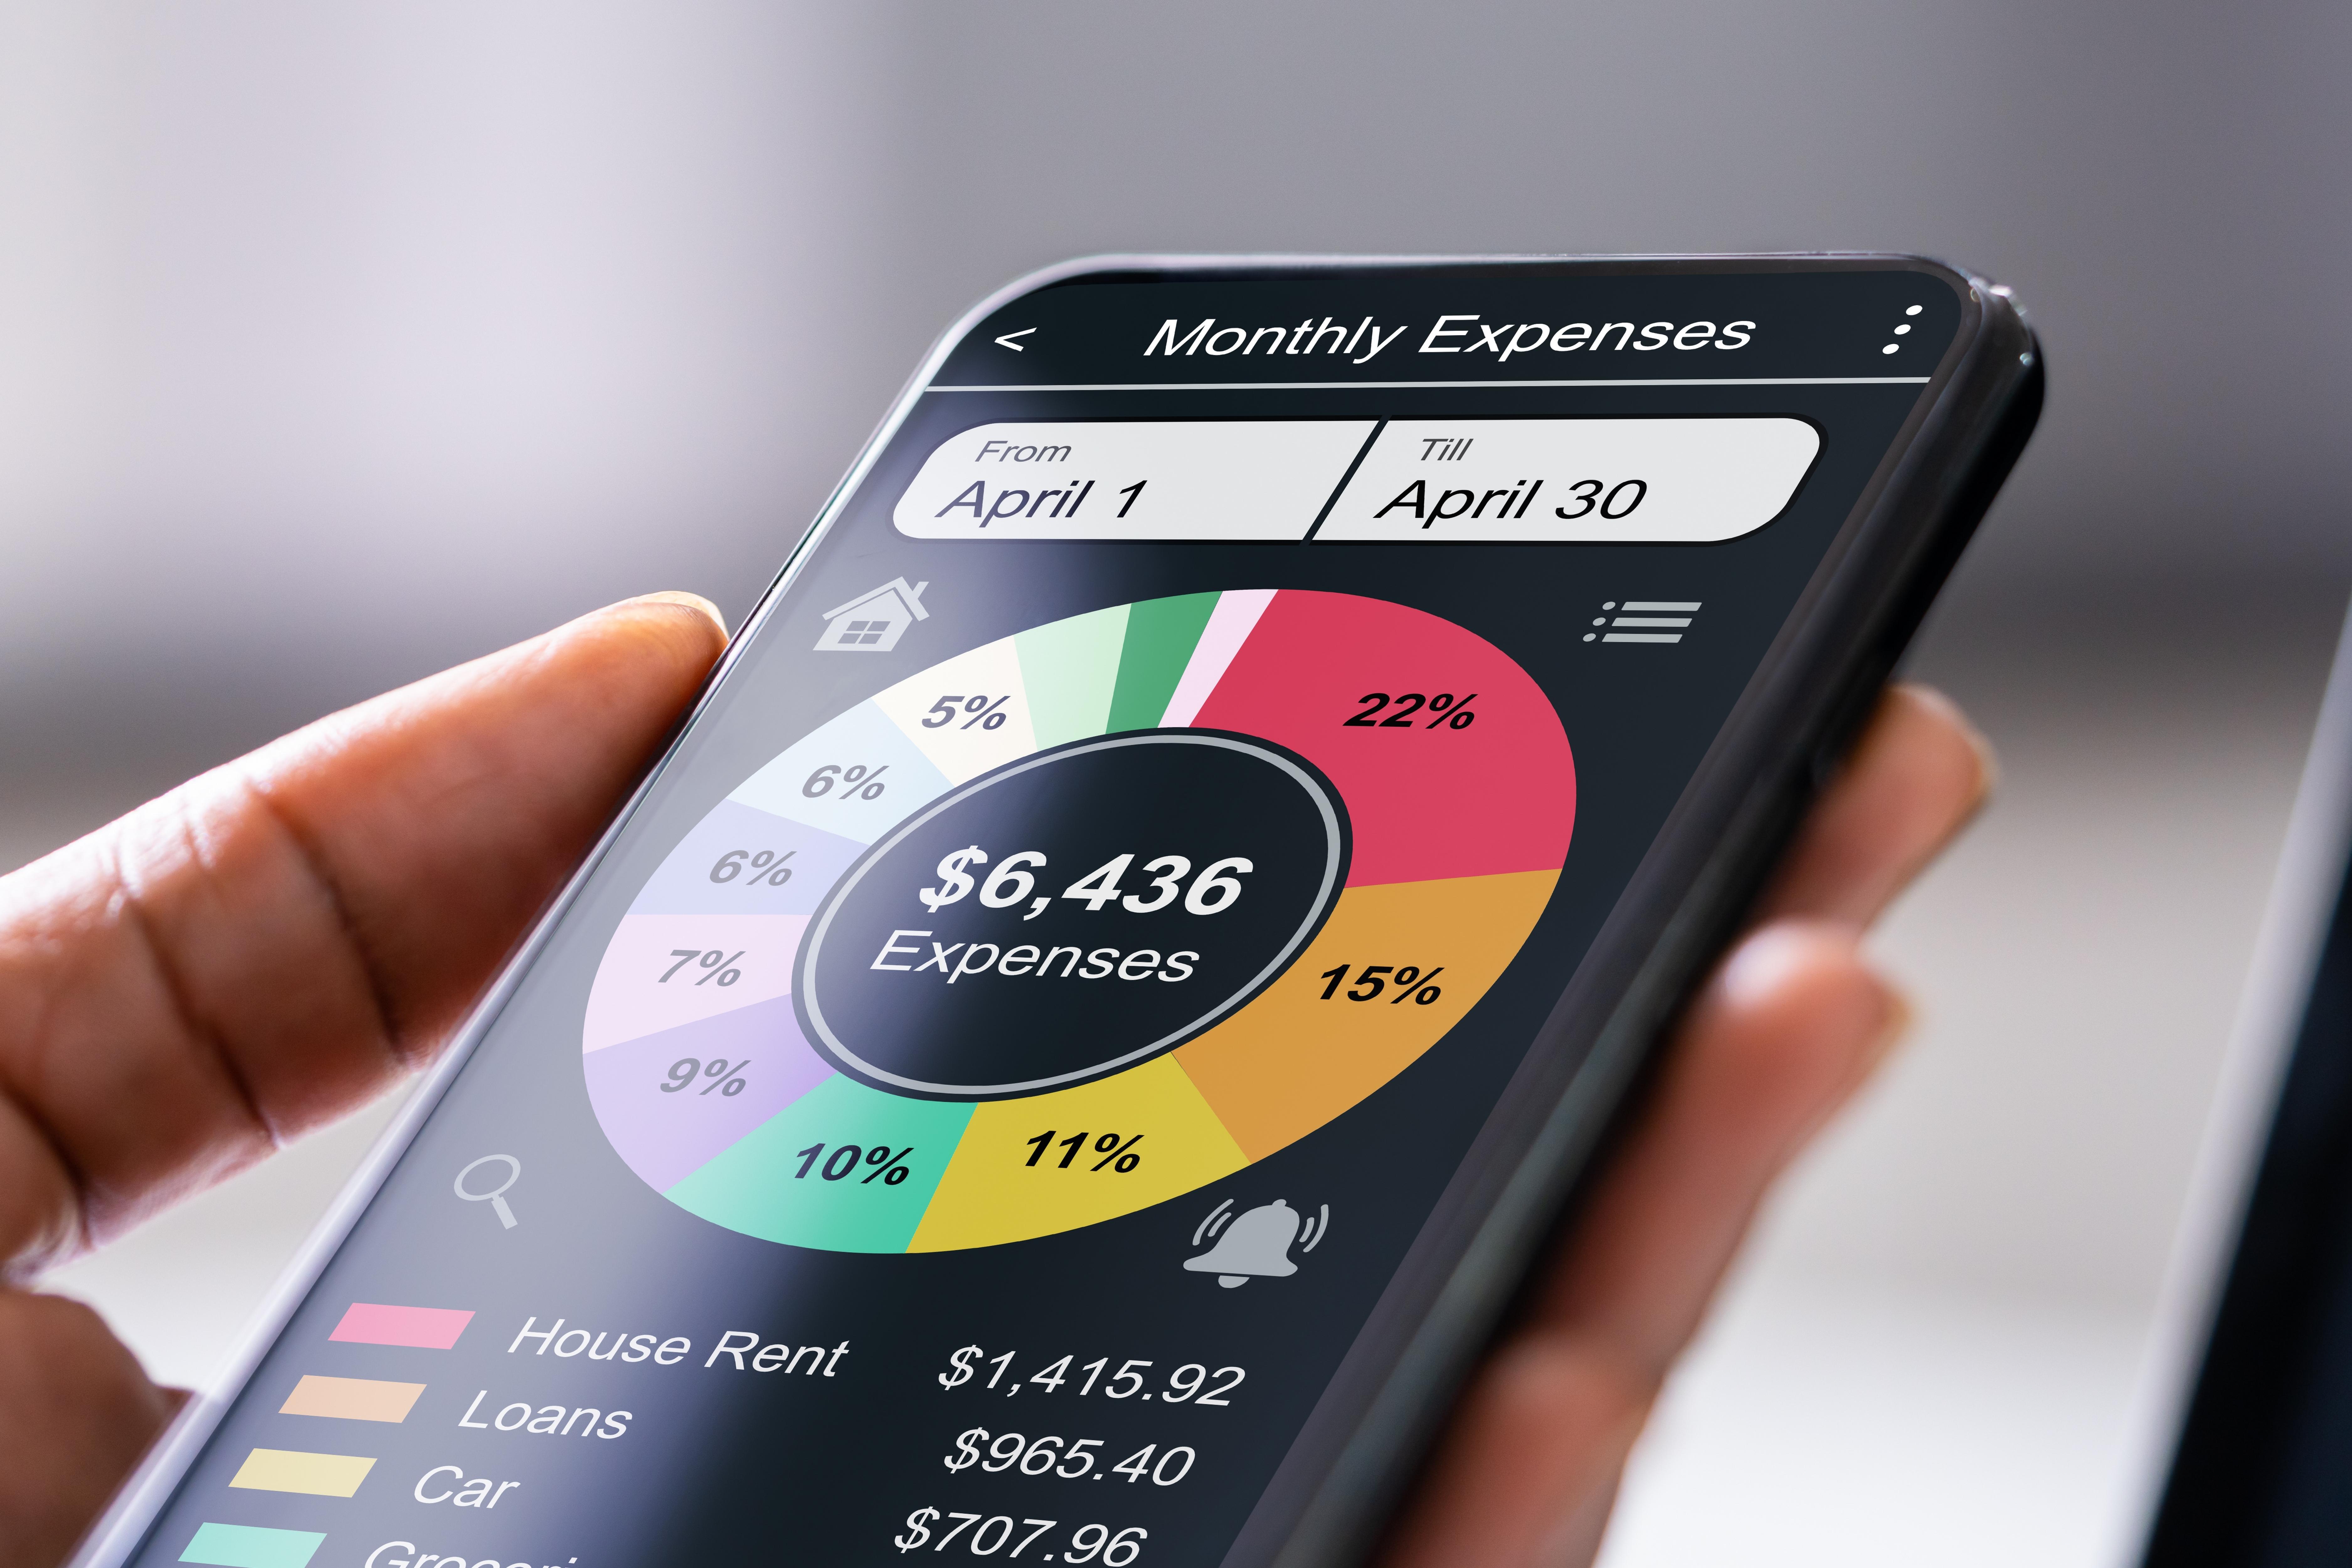
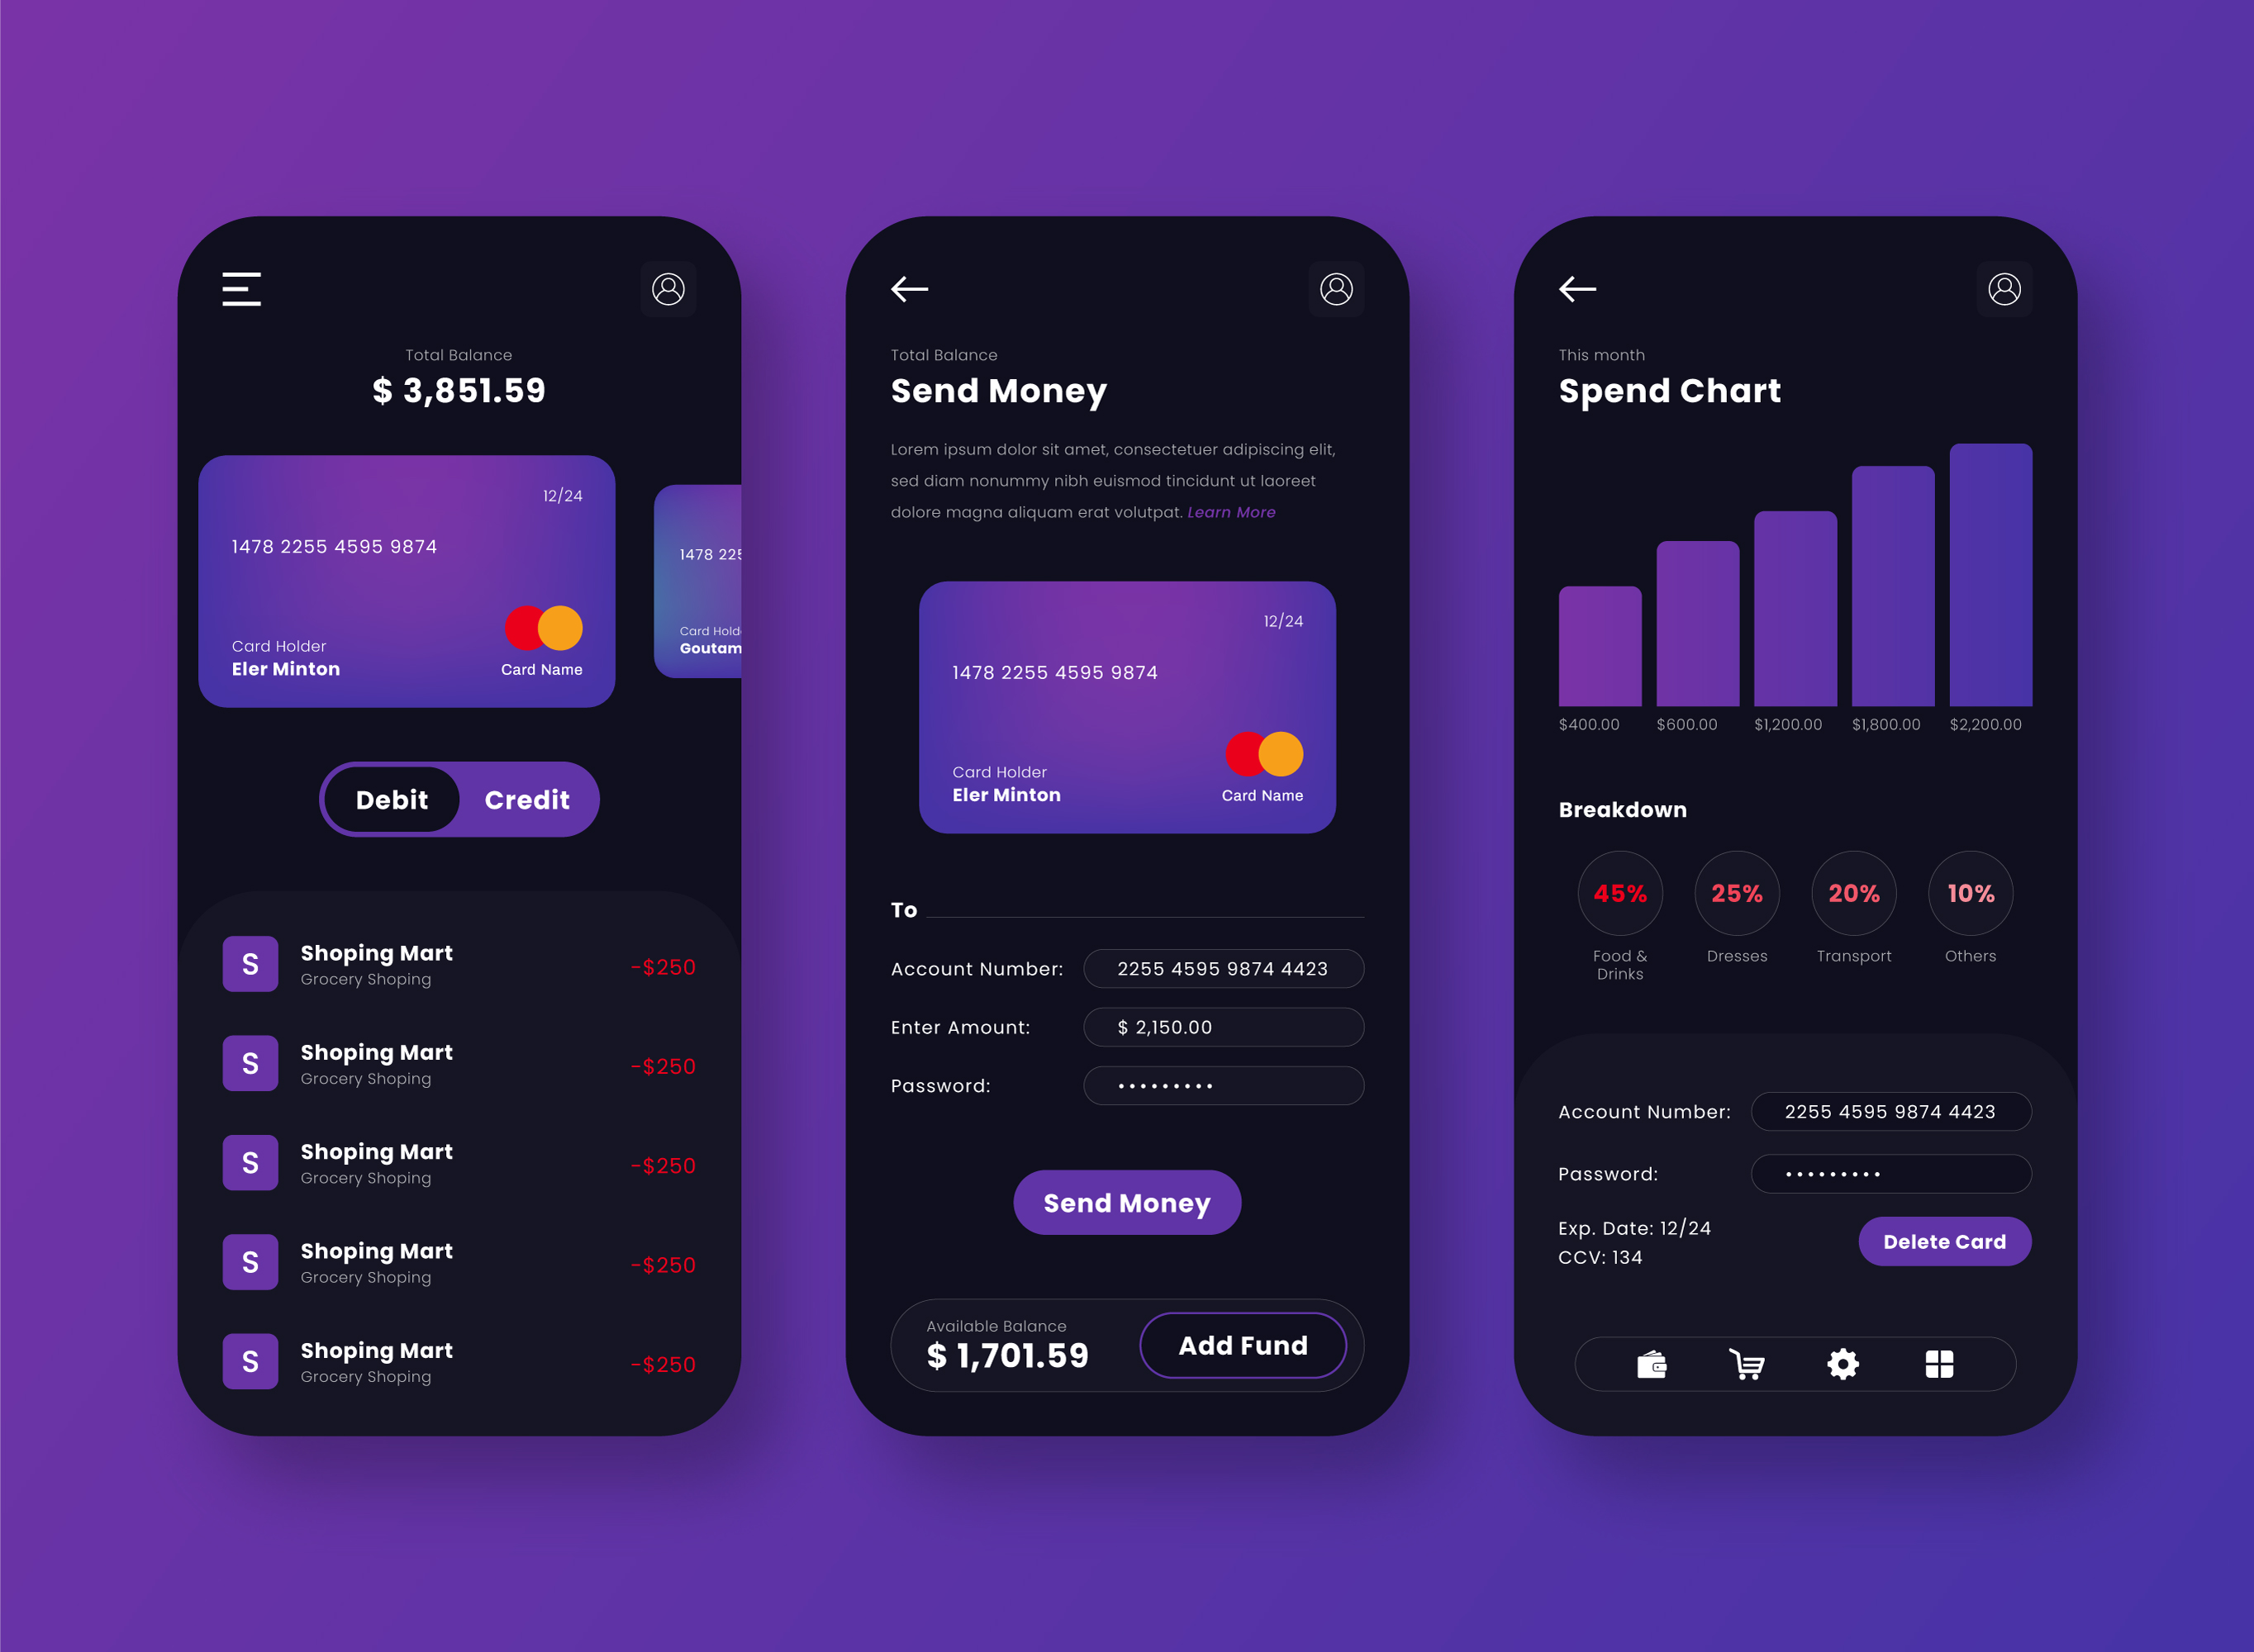
Many people want to save money but don’t know where to start. A budget app makes things easier by showing how much you spend and what you can afford. It helps you track your income, daily costs, and savings in one place. You need a budget app to set goals, like saving for a holiday or paying off debt, and see your progress over time.
The online personal finance app gives reminders when bills are due, so you don’t forget to pay them. It also helps spot bad spending habits. With everything on your phone, it feels more real and easier to control. Making a budget app is a smart idea because more people want simple tools to manage their money without needing a financial expert.

Making a Budget App That People Want to Use
Creating a personal finance software program might sound simple, but there’s a lot to think about. People use these apps to feel more in control of their money. If the app looks confusing or feels hard to use, they won’t come back. That’s why good design matters just as much as the features.
Before jumping into design tips, let’s look at what every budget app needs:
- A clean dashboard that shows total income, expenses, and savings
- Manual and automatic expense tracking
- Budget planning by category (food, rent, fun, etc.)
- Notifications for upcoming bills or low balance
- Simple charts or graphs for quick understanding
- Secure login and privacy protection
- Support for multiple accounts or payment methods
- Goal tracking (like saving for a new phone or vacation)
Now, let’s talk about design. The look and feel of your finance app should be welcoming, not overwhelming. It should help users, not confuse them. Here’s how you can do that.
Keep It Simple from the Start
When someone opens your personal finance software program for the first time, they shouldn’t feel lost. Keep the home screen clean. Avoid stuffing everything into one view. Use big, clear numbers and easy labels like “This Month’s Spending” or “Saved So Far.”
If users want more details, give them the option to tap and see more. But during web application software development, don’t throw every number at them all at once. Let them ease into it. For example, a small graph showing spending trends over the last week is enough for a quick glance. If they want to see a breakdown by category, they can tap the chart.
Use Colors with Purpose
Colors in a business budgeting app should help people understand things quickly. Use green for income and red for expenses. That way, they don’t even have to read—just a glance tells them how they’re doing.
Also, avoid too many colors. Stick to a few main ones so the screen doesn’t look messy. A light background with soft shades works better than dark, heavy tones, especially for long use. For warning messages, orange or yellow can grab attention without looking scary. And when someone reaches a savings goal, a little celebration splash of color, like a confetti animation, can feel rewarding.
Make Buttons Big and Text Easy to Read
Small buttons and tiny letters can frustrate users quickly. If someone has to squint or tap twice, that’s already a bad sign. Use big, finger-friendly buttons with simple labels like “Add Expense” or “Edit Budget.”
Fonts should be clear. No fancy styles. Stick to basic ones that work well on small screens. Make sure the most important info, like current balance or budget left, is always readable without zooming in. For example, the home screen could show: “You’ve spent $340 of your $500 grocery budget.” Large text, no confusion.

Guide the User with Short Prompts
People won’t always know what to do next. Your business budgeting app should give little nudges. Like, “Want to add your rent for the month?” or “Looks like you spent more than usual on food this week.” These kinds of notes make the app feel like a friendly helper, not just a calculator.
You can also show tips when someone uses a feature for the first time. For instance, when setting up a goal: “Choose an amount and a date, like saving $1000 by December.” No long instructions, just enough to keep the person moving forward.
Focus on Quick Entry
No one wants to spend five minutes adding a single receipt. Make it fast. Use categories with icons—like a burger for food, a car for transport, a dollar sign for bills. Let people type “$25 coffee” and the app figures out the rest. If possible, offer voice input or scan options.
Also, remember that not everyone uses cash. Your finance app should connect with bank accounts or cards to track spending automatically. Still, always allow manual entry for people who prefer it or live in places where automatic sync isn’t common.
Make Progress Feel Good
Budgeting isn’t always fun, but your personal finance software program can make it feel like a small win. Show progress bars for goals—like “You’re 75% there!” Or show streaks: “You stayed under budget 3 weeks in a row!”
When someone meets a target, don’t just update the number. Show a message like, “Well done! You saved $200 for your trip!” This simple feedback helps people feel proud and want to keep going. You can even use emojis or simple animations to celebrate small wins. But don’t overdo it—keep it clean, light, and positive.
Mobile app development of a business budgeting app means thinking like a regular user, not like a tech expert. When the design feels like it “just works,” customers will keep coming back—and maybe, they’ll even start enjoying budgeting.

How to Create a Budget App: A Simple Step-by-Step Guide
Building a budget app might sound like a big job, but when you break it into smaller steps, it becomes easier to understand and plan. People want tools that help them manage their money without stress. That’s why your app should be simple, useful, and easy to use. Below is a step-by-step guide that walks you through how to create a budget app from start to finish.
1. Start with a Clear Idea
Before choosing web application development services, you need to know what your app is about. Ask yourself:
- Who will use it?
- What problems will it solve?
- Will it help students track daily expenses?
- Or is it for families trying to save for big goals?
Write everything down. Think of the basic tasks your users will need: tracking spending, setting budgets, and saving money. You don’t need every detail yet. But this rough plan helps you focus on what really matters. Without a clear idea, it’s easy to get lost later. Also, check other budgeting apps. Look at what they do well—and where they could be better. Read reviews and see what people love or hate. That research will help you make something different and more useful.
2. Design the User Experience
Once you have your idea, it's time to think about how people will use your app. This part is called user experience, or UX, but think of it like planning out a store. Where will the “Add Expense” button go? What does the homepage show first? Should the menu be on top or bottom?
Sketch out simple drawings of your app screens—on paper or using simple tools online. These don’t have to be pretty. They just show how everything connects. Try to keep things simple. You don’t want ten buttons on one screen. Give each screen one main job.
For example, the home screen might just show today’s spending and total savings. Another screen shows goals. Keep it clean. The easier your app feels, the more people will use it. Also, think about colors and fonts. Use friendly ones that don’t hurt the eyes. Green for money coming in. Red for money going out. Pick text sizes that are easy to read.
3. Build the Features That Matter
Now it's time to think about what your budgeting app actually does. You don’t need everything at once. Start with the basics:
- Users should be able to add income and expenses
- They should see how much they have left each day, week, or month
- They can set a budget and get updates when they’re close to spending too much
- They can save for goals, like a new phone or a trip
If you want to add more, like automatic bank syncing or bill reminders, that can come later. Start small and test what works. Also, think about how users sign up or log in. Will they use email? Can they use their Google account? And don't forget security. People trust you with private money info, so even if you're keeping things basic, passwords should still be strong.
You can create this app using tools like React Native or Flutter, which let you build for both Android and iOS. If you're not coding it yourself, you'll need a developer to do it. Either way, focus on getting the main features working smoothly.
4. Set Up a Simple Database
Behind every personal finance app development is a place where all the numbers and settings are stored. This is your database. You need one to keep track of each user's income, expenses, goals, and login details. It doesn’t have to be fancy. But it does have to work.
Let’s say someone adds “$10 lunch.” The app sends that info to the database, so when they come back later, they can still see it. You’ll also need to store things like spending limits and categories. That way, the app can check: “Has this person gone over their food budget this week?”
Popular choices for simple apps include Firebase or SQLite. They’re easy to set up and work well with mobile apps. The key is to organize the data so it’s easy to get what you need, like all expenses from this month, or the current balance after bills.

5. Test Everything Before Launching
Before you show your app to the world, make sure it works the way you want. That means testing—again and again. Use the app like a real person would. Add fake expenses. Change settings. Try to break it.
Ask friends or a small group of people to try it, too. Watch how they use it. Are they confused? Do they know where to tap? If they keep asking the same questions, your app probably needs to be simpler.
Fix any bugs or confusing parts. Then test again. This part may feel slow, but it’s better than launching and having people complain right away. Even small mistakes, like a button that doesn’t work or numbers that don’t update, can make people delete your budgeting app.
You don’t have to be perfect, but you do want the basics to work well. Make sure numbers add up, screens load quickly, and users don’t get stuck.
6. Launch the App and Keep Improving
Once everything works and your testers are happy, you’re ready to launch. You can publish the app to Google Play and the Apple App Store. Each has its own rules, so follow their steps carefully. Write a short description, add screenshots, and explain what your finance app does. Keep it short and clear.
But your job doesn’t stop there. After launch, read what users say. Are they happy? Do they want more features? Maybe someone says, “It would be great if I could track shared expenses with my partner.” That could be your next update.
Every few weeks or months, you can improve the app. Add small features. Make it faster. Fix problems. Show users that you care—and they’ll stick around.
If the app grows, you might start making money from it. You can offer a paid version with extra tools or add small ads. But always remember: people use budget apps to save money. So keep it fair.
Creating a budget app takes time and patience, but it’s worth it if you build something helpful. Keep things simple, focus on what people really need, and always listen to your users. If your app helps someone save money or avoid debt, then you’ve already done something good.
The answers to your questions
What is a budget app?
A budget app is a simple tool you can use on your phone or computer to keep track of how much money you make, how much you spend, and how much you save. It helps you see where your money goes—like rent, food, or fun—and reminds you not to spend more than you planned. Some apps even let you set savings goals or warn you if you're about to go over your limit.
How to make a budget app?
Start with a clear idea of what your app should do. Think about the people who will use it and what they need, like adding expenses, checking balance, or setting goals. Then, design each screen in a way that's easy to use. Next, build the main parts, such as tracking money, showing totals, and saving the info safely. Once it works, test it with real people. Fix anything that feels off, and only then launch it. After that, keep checking how people use it and keep improving.
What are the top 3 budgeting apps?
Right now, some of the most loved budgeting apps are YNAB (You Need a Budget), Mint, and Goodbudget. YNAB helps people plan for every dollar. Mint pulls in bank info and shows everything in one place. Goodbudget is great for people who like to plan using envelopes or categories. Each one is different, so the best choice depends on what kind of help you’re looking for.
